

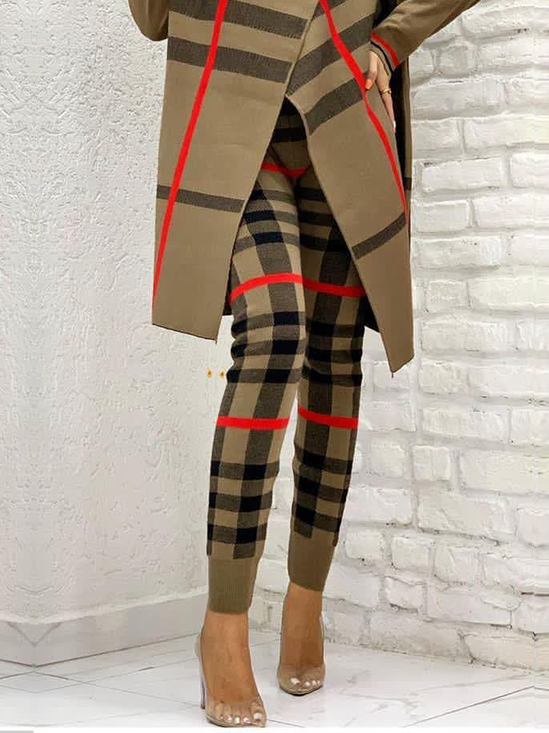
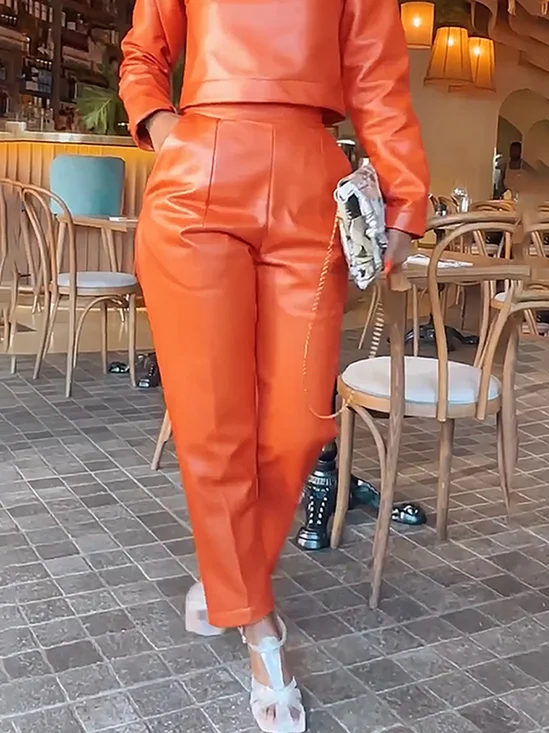
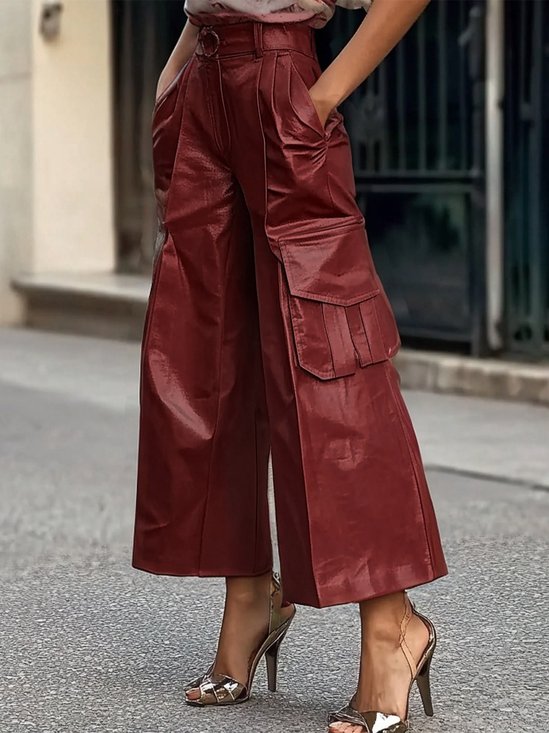
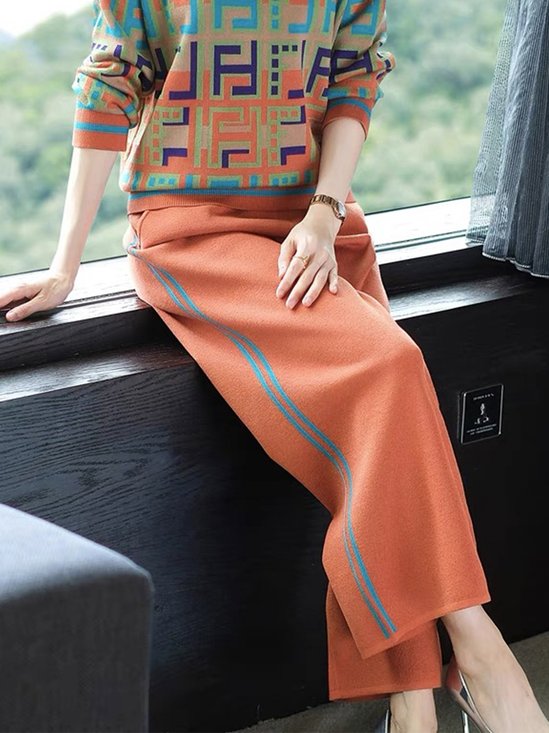
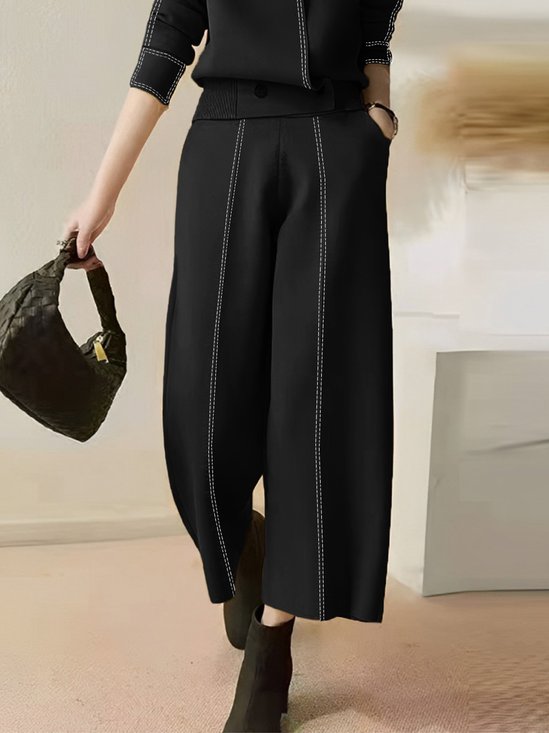
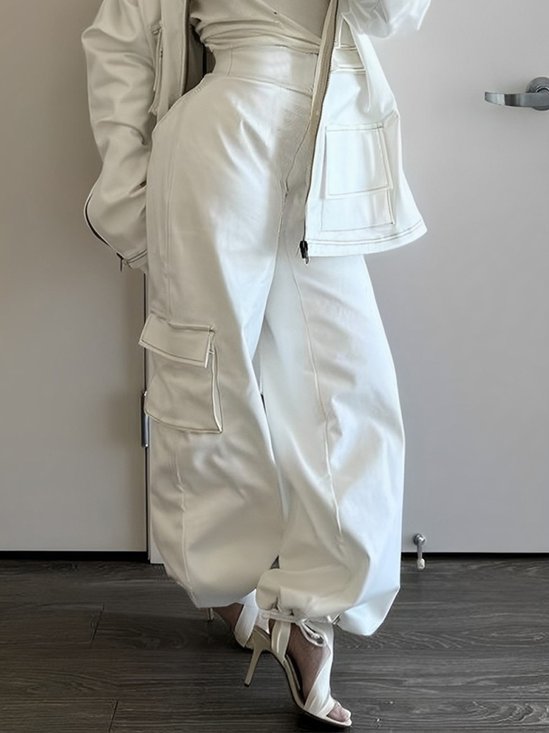
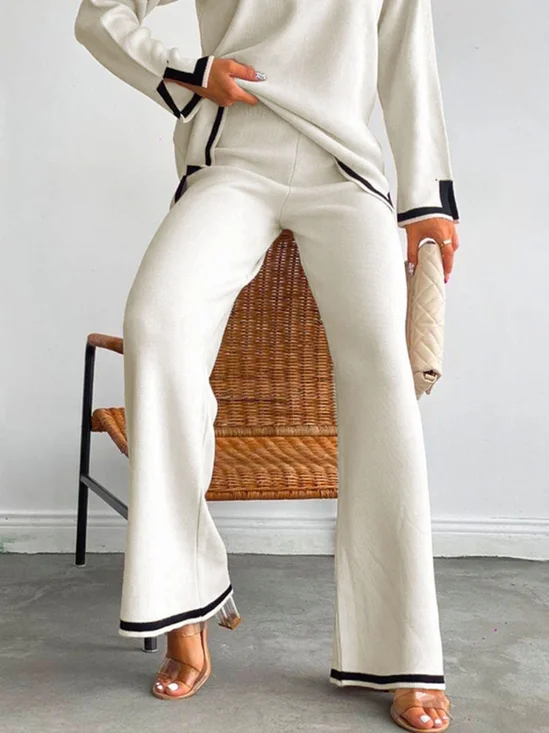
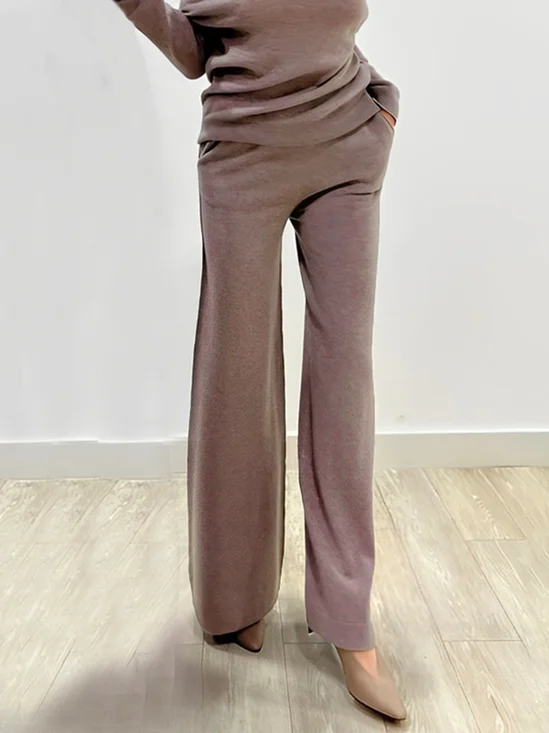
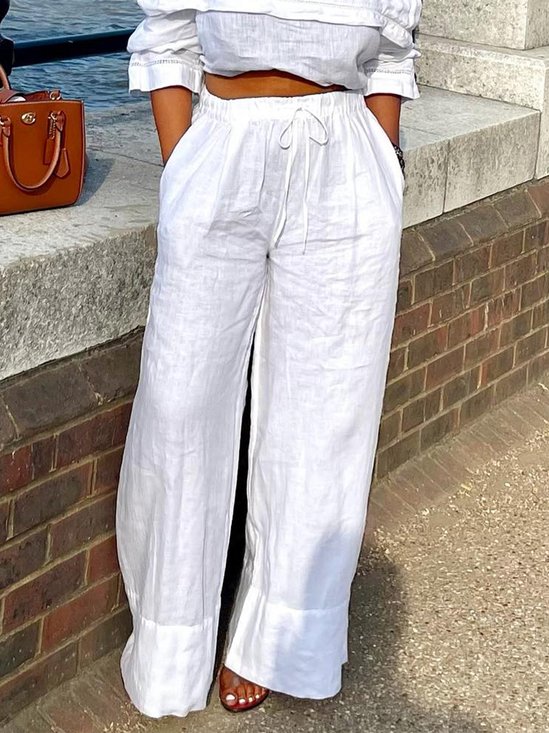
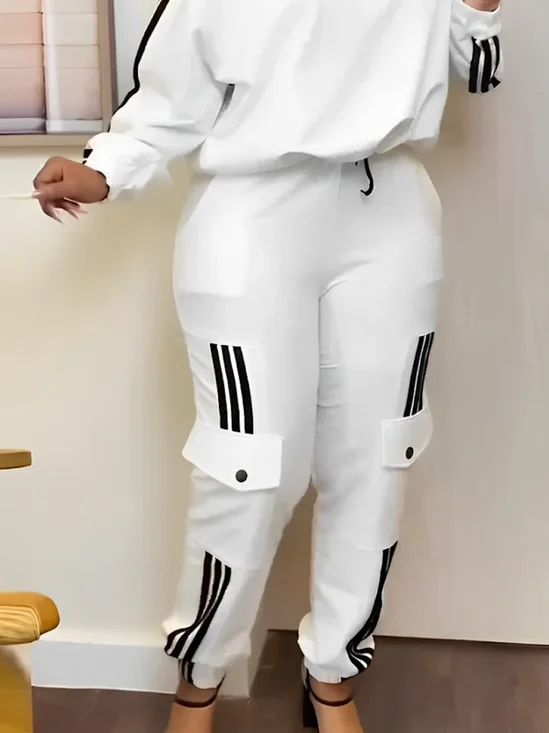
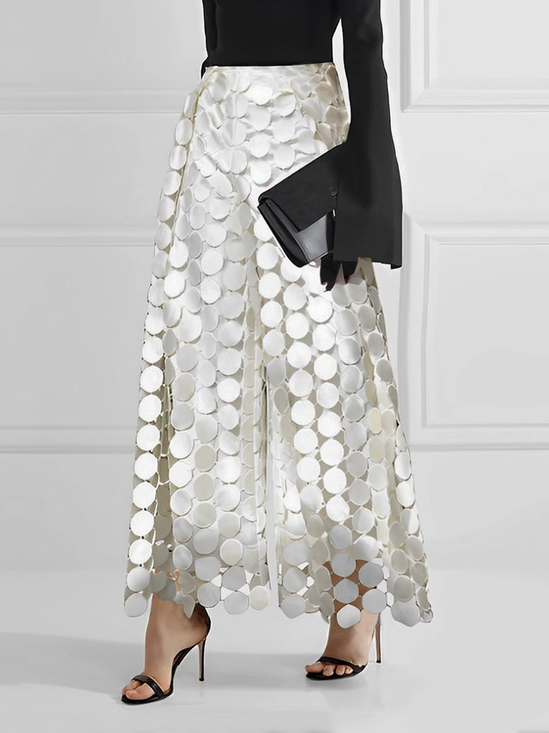
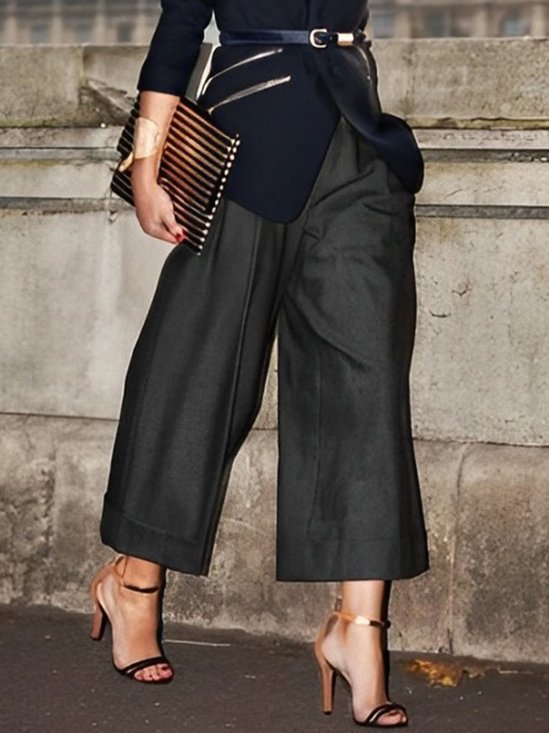
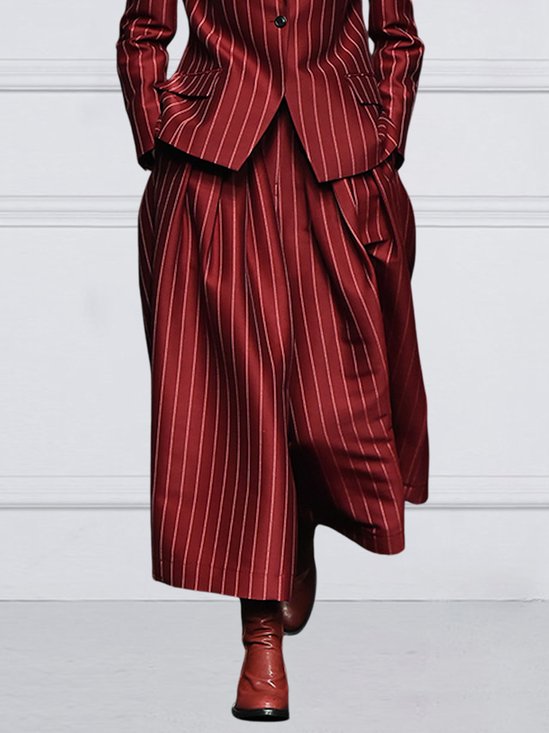
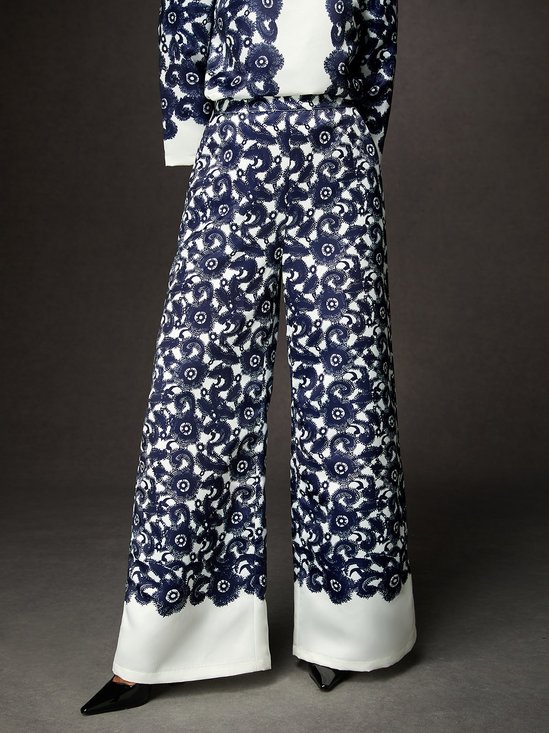
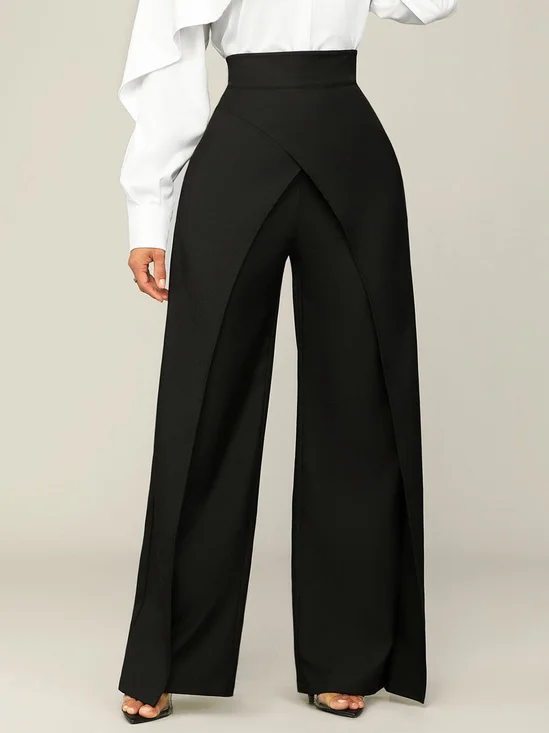
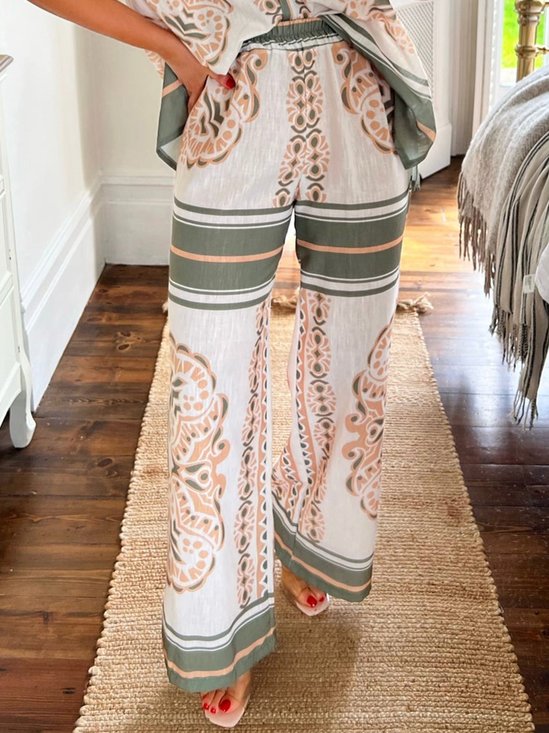
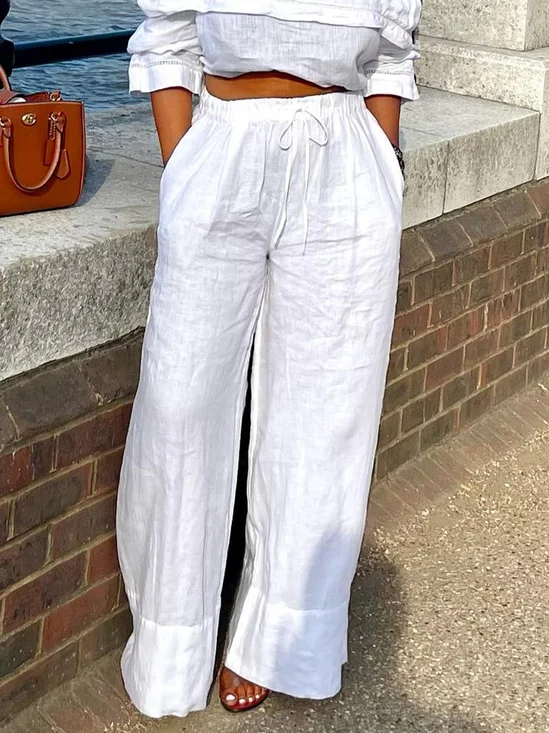
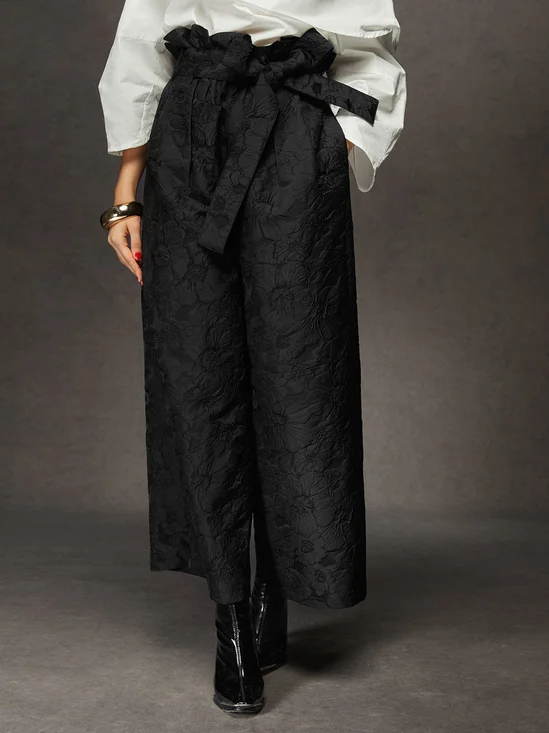
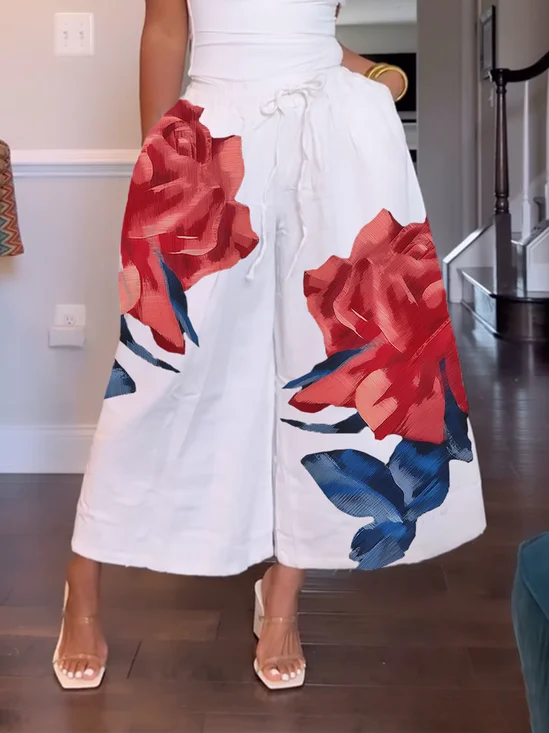
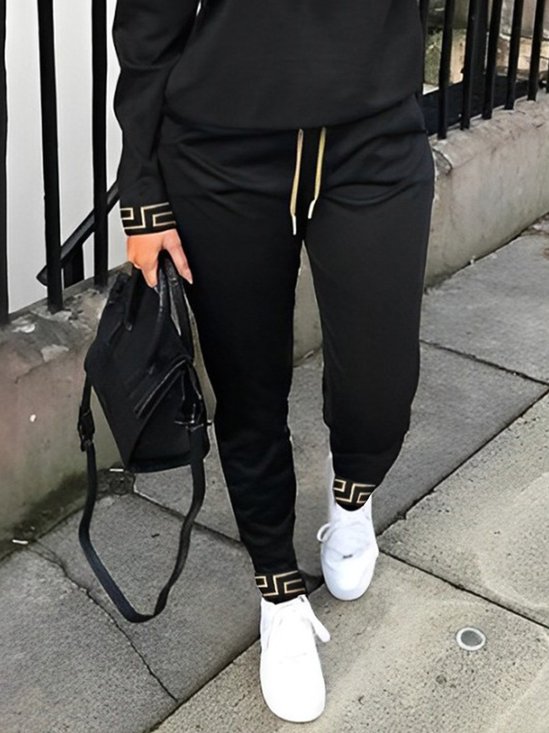
pants hemmed
Our Pick


TOP SEARCHES
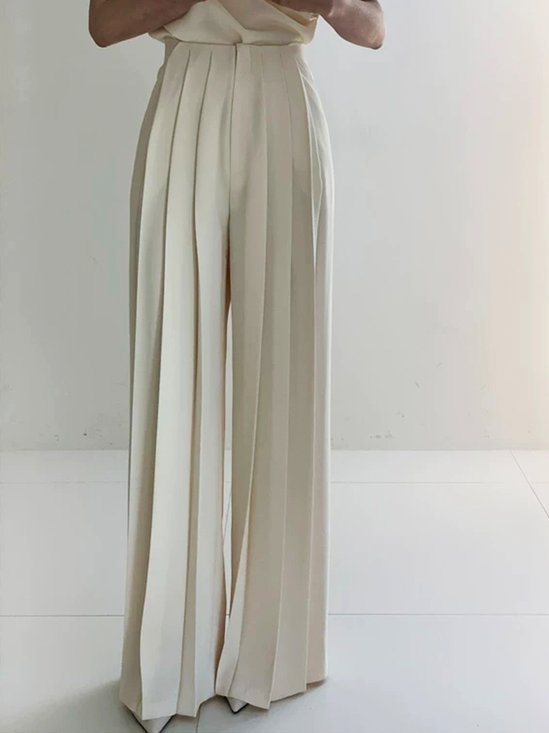
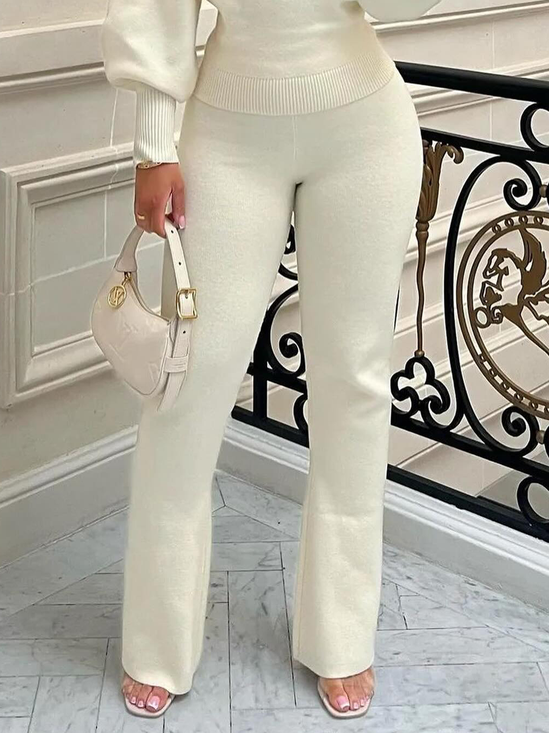
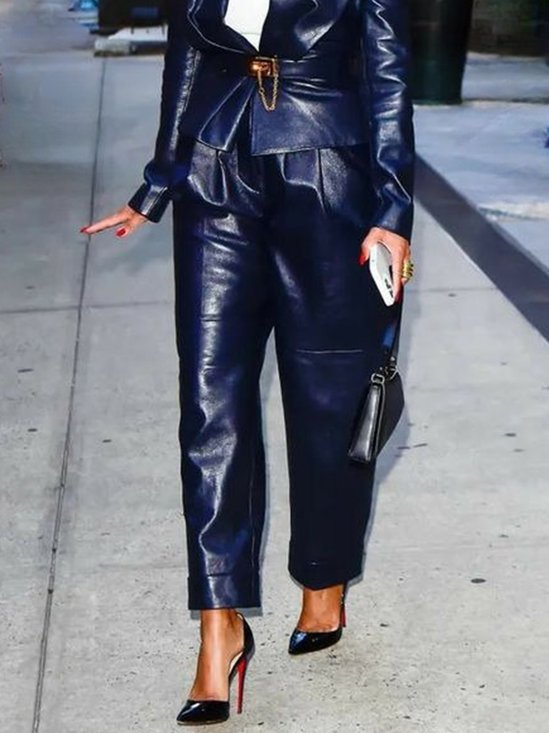
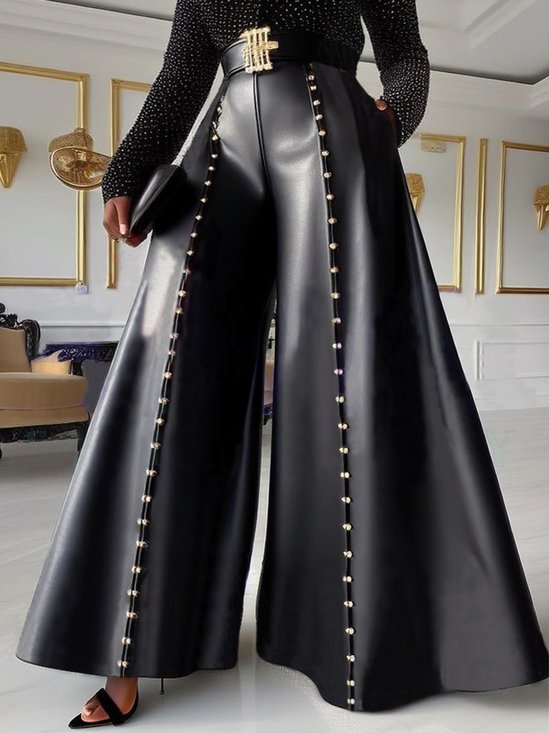
Pants Hemmed
The Art of Hemming Pants by Hand with Stylewe
Hello there! Today, we're diving into the fantastic world of making your pants fit just right without needing a pro. Ever looked at those long pants and thought, Hmm, how can I make these perfect without cutting them? Well, stick around as we unravel the art of hemming pants by hand, Stylewe style!
1.1. Essentials for Hemming Without Cutting
First things first, let's chat about what you need to start this little project. You won't believe how simple it is! Grab a needle, some thread (matching your pants, of course), scissors, pins, and an iron. That's it! No fancy gadgets here. We're keeping it straightforward and fun. This method is perfect for those who want to know how to hem dress pants or any other kind without snipping away at the fabric.
1.2. Step-by-Step Guide to Hand Hemming
Now, onto the exciting part - the step-by-step guide to hand hemming. Follow these easy peasy steps, and you'll be a hemming hero in no time!
Put on your pants and mark where you want the new hem to sit. Use pins to mark it clearly.
Take off the pants (carefully, don't poke yourself!) and turn them inside out.
Fold the bottom up to where you've marked and pin it in place. Make sure it's even all around!
Heat up your iron and gently press the fold. This step makes sewing way easier.
Thread your needle and knot the end. Start stitching close to the edge of the fold. Keep your stitches small and neat for a barely-there look.
Once you've gone all the way around, secure your thread with a couple of backstitches and cut it off.
Voila! You've just hemmed your pants by hand without cutting a single inch off them.
1.3. Preserving the Original Design
One of the coolest things about hemming by hand without cutting is that you preserve the original design of your pants. Whether it's a special pattern at the hem or a particular fabric texture, everything stays intact. Plus, if you ever change your mind or grow a bit taller (hey, we can dream, right?), you can simply undo the stitches and let down the hem. It's like having multiple pants in one!
So there you have it - a fun and straightforward guide to getting your pants hemmed without losing an inch of fabric or style. Remember, practice makes perfect. Don't worry if your first try isn't flawless; keep at it, and soon you'll be hemming like a pro. Happy sewing!
Hemming Dress Pants: A Stylewe Perspective
Hey, fashion lovers! Ever found the perfect pair of dress pants but they just didn't fit right length-wise? Well, fear not! Today, we're diving into the world of hemming dress pants, Stylewe style. We'll show you how to get that professional look right at home, no expert needed. Let's jump right in and turn those almost-rights into absolutely perfect!
2.1. Techniques for a Professional Finish
Getting that sleek, professional finish on your dress pants isn't as hard as it seems. The trick is all in the technique. First up, you want to make sure you've got your pants hemmed evenly. A good tip is to wear your favorite shoes while marking the hem to get the length just right. Fold the hem inwards and pin it in place, making sure it's level all around by using a measuring tape.
Now, for the stitching part - this is where the magic happens. Use a blind stitch to keep things looking neat and invisible from the outside. This means you pick up just a few threads of the fabric with each stitch, so the thread doesn't show on the outside. It might take a bit of practice, but once you get the hang of it, you'll be hemming like a pro!
2.2. Choosing the Right Thread and Needle
You might think any thread or needle will do, but oh boy, choosing the right ones can make a world of difference! For dress pants, you want to match the thread color as closely as possible to your pants. This way, even if your stitches aren't 100% invisible, they won't be shouting for attention.
As for needles, go for a medium-sized, sharp needle. It's like Goldilocks - not too big, not too small, just right for getting through the fabric without leaving noticeable holes. Remember, the goal here is to keep everything looking sharp and clean, just like those pants deserve.
2.3. Adjusting Length for Perfect Fit
Now, let's talk length. Getting the perfect fit isn't just about style; it's about comfort and confidence too. When adjusting the length of your dress pants, consider the shoes you'll wear most often with them. Heels? Flats? Each shoe type might require a slightly different hem length.
A cool trick when hemming is to create a slight angle in the hem so it's slightly longer at the back. This helps prevent that awkward gap between your pants and shoes when you walk. And remember, it's always better to err on the side of too long rather than too short. You can always hem more, but adding fabric back is a whole other story!
So there you have it - your easy guide to getting those dress pants hemmed with a professional finish, all by yourself. With these tips and tricks, you'll not only save a trip to the tailor but also add a personal touch to your wardrobe. Remember, practice makes perfect, so don't be afraid to give it a try. Happy hemming!
Understanding the Basics of Pants Hemming
Hey there! So, you've got a pair of pants that just don't fit right at the bottom, huh? Well, you're in luck because today we're diving into the basics of getting those pants hemmed - and guess what? You can totally do it yourself! No need to be a sewing wizard or have fancy equipment. Just you, your pants, and a little bit of patience. Let's break it down into simple steps that anyone can follow. Ready? Let's roll!
3.1. The Importance of Proper Measurement
First up, let's talk about measuring. This step is super crucial because if you get this wrong, you might end up with pants that are either too short or still too long. And we don't want that, do we? Here's the deal: put on your pants and stand straight. Now, decide where you want your pants to end - maybe right above your shoe or touching the top of your shoe. That's your call!
Grab a friend or a mirror to help mark the spot with a pin or a piece of chalk. Remember, it's better to measure twice and cut once - or not cut at all, as we'll see in a bit. This way, you ensure your pants hemmed will look just like how you envisioned them.
3.2. To Cut or Not to Cut: Preserving Fabric Integrity
Now, here comes a big question: to cut or not to cut? If you're like me and change your mind a lot, you might want to keep all that precious fabric intact. Plus, keeping the original fabric allows you to let out the hem if you need to in the future (hello, unexpected growth spurts or shoe style changes!).
So, how do we do this? Easy! You can fold the excess fabric inside and pin it in place before you start sewing. This method is perfect for those looking into how to hem pants by hand without cutting. It keeps the fabric safe and sound, and you can always adjust it later if needed.
3.3. Time Investment: How Long Should It Take?
Okay, you might think, but how long is this going to take me? Good question! Honestly, it depends on your skill level and how meticulous you are with your stitches. If you're new to sewing, give yourself an afternoon to take it slow and get those stitches just right. For the sewing pros out there, you might zip through it in an hour or less.
The key here is not to rush. Whether you're learning how to hem dress pants for a special occasion or just shortening some casual chinos for a better fit, taking your time will pay off. After all, we're aiming for pants that look good and feel comfortable, right?
So there you have it - a beginner-friendly guide to hemming your pants without losing any sleep (or fabric!). Remember, practice makes perfect. Don't worry if your first attempt isn't flawless; each stitch you make brings you closer to becoming a hemming hero. Grab those pants, get your measurements right, and start sewing. Your wardrobe will thank you!
Stylewe's Tips for Perfectly Hemmed Pants
Hey there, fashion enthusiasts! Ever found yourself staring at a pair of pants that would be just perfect if only they were a tad shorter? Well, you're in luck because Stylewe is here to guide you through the art of getting your pants hemmed perfectly. Whether you're a DIY newbie or a seasoned pro, we've got some tips and tricks up our sleeves that'll make this process as smooth as a well-ironed pair of slacks. So, let's dive in and turn those almost-great pants into your new favorite piece!
4.1. Selecting Pants for Hemming: What Works Best?
First things first, not all pants are created equal when it comes to hemming. Some are just begging for that personal touch, while others might be a bit trickier to handle. Lightweight fabrics and straight-leg designs are your best friends here. They're easier to work with and more forgiving if your stitching isn't exactly straight out of a fashion magazine.
But what about those thick jeans or fancy dress pants? Well, that's where things get interesting. Jeans can be a bit stubborn due to their thick fabric, but don't let that scare you! With a strong needle and some patience, you can conquer them too. As for dress pants, choosing ones with a simple hem makes the job easier, especially if you're aiming to learn how to hem dress pants by hand without cutting.
4.2. Common Mistakes to Avoid in DIY Hemming
Ah, the pitfalls of DIY projects. We've all been there, but when it comes to hemming your pants, a few common mistakes can turn an easy fix into a frustrating ordeal. First off, skipping the measuring and fitting part is a big no-no. Always try on your pants and mark them with someone's help or in front of a mirror to ensure accuracy.
Another rookie mistake? Using the wrong type of thread or needle. This can lead to visible stitches or even worse, your hem coming undone at the most inconvenient times. And remember, rushing through the process is never a good idea. Take your time to ensure those stitches are even and secure.
4.3. When to Consider Professional Tailoring Services
Now, we're all for empowering you to tackle hemming on your own, but sometimes calling in the pros is the best move. If you're dealing with high-end dress pants or a particularly tricky fabric, professional tailoring services might save you a lot of headaches (and potentially ruined pants).
Also, if you're short on time or just don't feel confident enough to attempt DIY hemming, there's no shame in seeking help. After all, the goal is to have pants that fit you perfectly and boost your confidence. Plus, tailors can offer insights and adjustments you might not have considered, ensuring your pants look tailor-made just for you - because they are!
So there you have it - Stylewe's guide to getting those pants hemmed just right. Whether you decide to take the DIY route or opt for professional help, remember that the perfect fit is within reach. With these tips in mind, you're well on your way to rocking those perfectly hemmed pants with style and confidence. Happy hemming!
Caring for Your Hemmed Pants: A Stylewe Guide
Hey, fashion lovers! So, you've got your pants hemmed just the way you wanted, and they're looking fabulous on you. But wait, the journey doesn't end here. To keep those pants looking sharp and in shape, there's a bit more care involved. Don't worry, though; Stylewe is here to walk you through the simple yet essential steps of caring for your hemmed pants. Let's dive into ensuring your hemmed treasures stay perfect for years to come!
5.1. Washing and Maintenance Tips
First things first, let's talk about keeping those pants clean without ruining the beautiful hemming job. Always check the care label before tossing them into the wash - this little tag is your best friend. If it says dry clean only, believe it. For those that are washer-friendly, turn your pants inside out to protect the hem and use a gentle cycle with cold water to prevent any shrinkage or fraying.
And here's a pro tip: avoid the dryer if you can. High heat can mess with the fabric and even undo some of that neat hemming work. Instead, opt for air drying by laying the pants flat or hanging them up. This way, you'll save energy and your pants at the same time!
5.2. Storing Your Hemmed Pants Correctly
Now that your pants are clean and dry, let's make sure they're stored in a way that keeps them ready-to-wear without any extra fuss. Folding them along the natural creases and placing them in a drawer is fine for casual pants. However, for dress pants or those made from delicate fabrics, hanging is the way to go.
Use sturdy hangers and hang your pants by the waistband or through the legs to avoid any new creases forming. And if space allows, give your pants some room to breathe in the closet. Crowding too many items together can lead to wrinkles and damage over time.
5.3. Reviving Old Pants with New Hemming Techniques
Got an old pair of pants lying around that could use a little love? Why not give them a new lease on life with some fresh hemming techniques? Whether it's updating them to match current trends or simply adjusting the length for a better fit, re-hemming can totally transform an outdated pair into your new favorite piece.
Experimenting with different lengths and styles, like a cropped cut for summer or adding a cuff for some flair, can be a fun way to personalize your wardrobe. And if you're not confident in doing it yourself, remember, professional tailors are always there to help bring your vision to life.
So there you have it - caring for your hemmed pants doesn't have to be a chore. With these simple washing, storing, and reviving tips from Stylewe, you can ensure your pants remain a staple in your wardrobe for as long as possible. Remember, a little care goes a long way in keeping those hemmed pants looking as good as new. Happy styling!